Category:Images of Auto Rifles
From Destinypedia, the Destiny wiki
Images featuring the various forms of Auto Rifles in Destiny.
Subcategories
This category has the following 7 subcategories, out of 7 total.
I
- Images of Hard Light (6 F)
- Images of Khvostov 7G-0X (19 F)
- Images of Monte Carlo (8 F)
- Images of Necrochasm (6 F)
- Images of SUROS Regime (13 F)
- Images of Sweet Business (9 F)
Media in category "Images of Auto Rifles"
The following 112 files are in this category, out of 112 total.
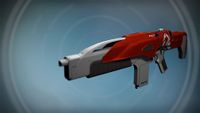 ((GENESIS CHAIN~)).jpg 1,920 × 1,080; 146 KB
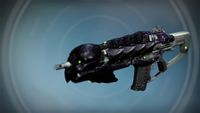 Abyss Defiant (Adept).jpg 1,920 × 1,080; 172 KB
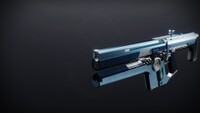 Ammit AR2.jpg 1,920 × 1,080; 162 KB
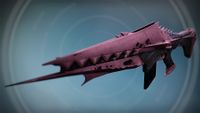 Anguish of Drystan (Adept).jpg 1,920 × 1,080; 170 KB
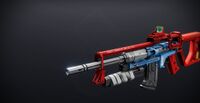 Arctic Haze.jpg 1,920 × 993; 206 KB
 Arcus regime concept.jpg 574 × 228; 22 KB
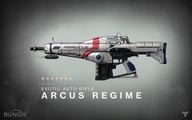 Arcus regime desktop.jpg 1,920 × 1,200; 358 KB
 Arcus regime model.jpg 574 × 306; 26 KB
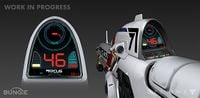 Arcus regime POV concept.jpg 574 × 281; 34 KB
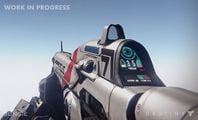 Arcus regime pov.jpg 574 × 348; 35 KB
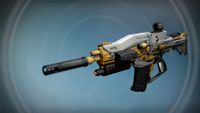 Atheon's Epilogue (Adept).jpg 1,920 × 1,080; 170 KB
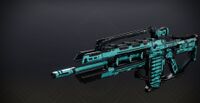 BrayTech Werewolf.jpg 1,920 × 988; 229 KB
 Centrifuse Ornament1.jpg 1,920 × 1,080; 208 KB
 Come to Pass.jpg 1,920 × 997; 205 KB
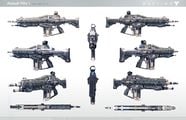 Destiny Assault Rifle 1.jpg 5,100 × 3,300; 2.72 MB
 Destiny-AbyssDefiant-AutoRifle.jpg 1,920 × 1,080; 183 KB
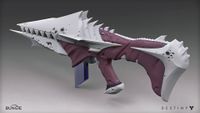 Destiny-AnguishOfDrystan-AutoRifle-Back.jpg 1,920 × 1,080; 197 KB
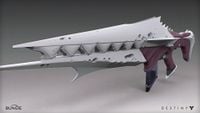 Destiny-AnguishOfDrystan-AutoRifle-Front.jpg 1,920 × 1,080; 189 KB
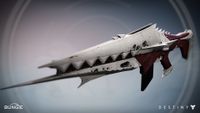 Destiny-AnguishOfDrystan-AutoRifle-Ingame.jpg 1,920 × 1,080; 164 KB
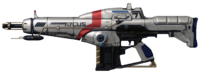 Destiny-ArcusRegime-AutoRifle-Side.png 1,400 × 520; 505 KB
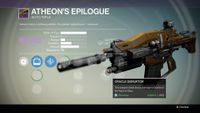 Destiny-AtheonsEpilogue-AutoRifle.jpg 1,920 × 1,080; 241 KB
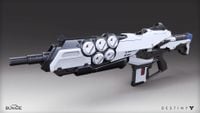 Destiny-AutoRifle-Render-01.jpg 1,920 × 1,080; 203 KB
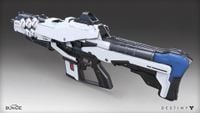 Destiny-AutoRifle-Render-02.jpg 1,920 × 1,080; 226 KB
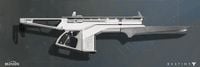 Destiny-Concept-MonteCarlo-AR.jpg 1,920 × 640; 149 KB
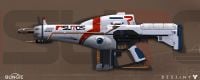 Destiny-Concept-SurosRegime-AR.jpg 1,600 × 640; 137 KB
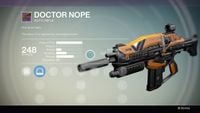 Destiny-DoctorNope-AutoRifle.jpg 1,920 × 1,080; 212 KB
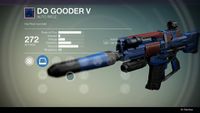 Destiny-DoGooderV-AutoRifle.jpg 1,920 × 1,080; 179 KB
 Destiny-EidolonAlly-AutoRifle.jpg 1,920 × 1,080; 154 KB
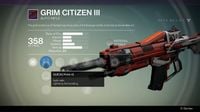 Destiny-GrimCitizenIII-AutoRifle.jpg 1,366 × 768; 74 KB
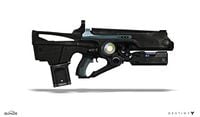 Destiny-HardLight-AutoRifle-ConceptWP.jpg 1,440 × 840; 72 KB
 Destiny-HardLight-AutoRifle-SideConcept.png 1,040 × 520; 319 KB
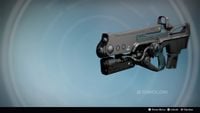 Destiny-HardLight-ExoticAutoRifle.jpg 1,920 × 1,080; 164 KB
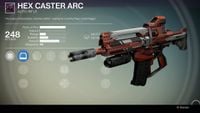 Destiny-HexCasterARC-AutoRifle.jpg 1,920 × 1,080; 236 KB
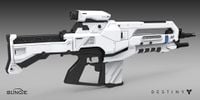 Destiny-HOW-AutoRifle-Render-01.jpg 1,920 × 960; 160 KB
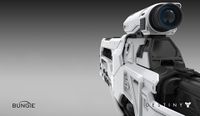 Destiny-HOW-AutoRifle-Render-02.jpg 1,920 × 1,117; 167 KB
 Destiny-HuskOfThePit-AutoRifle.jpg 1,920 × 1,080; 163 KB
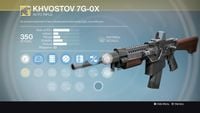 Destiny-Khvostov7G0X.jpg 1,920 × 1,080; 256 KB
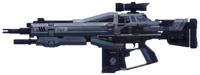 Destiny-MonitorS11ScoutRifle-Side.png 1,440 × 540; 544 KB
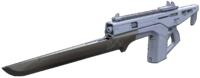 Destiny-MonteCarlo-AutoRifle-AngleSide.png 1,840 × 720; 547 KB
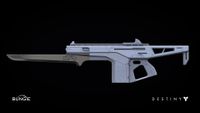 Destiny-MonteCarlo-AutoRifle-Side-WP.jpg 1,920 × 1,080; 114 KB
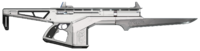 Destiny-MonteCarlo-AutoRifle-Side.png 1,720 × 440; 422 KB
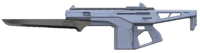 Destiny-MonteCarlo-AutoRifle-SideProfile.png 1,800 × 480; 345 KB
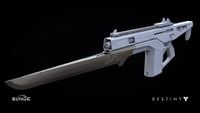 Destiny-MonteCarlo-AutoRifle-WP.jpg 1,920 × 1,080; 138 KB
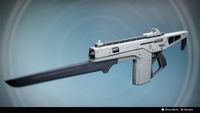 Destiny-MonteCarlo-AutoRifle.jpg 1,920 × 1,080; 157 KB
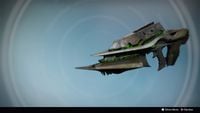 Destiny-Necrochasm-ExoticAutoRifle.jpg 1,920 × 1,080; 155 KB
 Destiny-Necrochasm-Render-Extraction.png 1,920 × 660; 624 KB
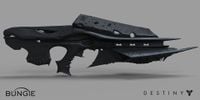 Destiny-Necrochasm-Render.jpg 1,920 × 960; 149 KB
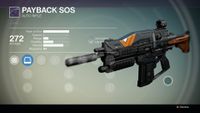 Destiny-PaybackSOS-AutoRifle.jpg 1,920 × 1,080; 176 KB
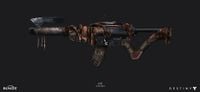 Destiny-ROI-UnbentTree-AR-Concept.jpg 1,920 × 880; 275 KB
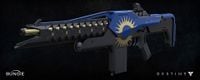 Destiny-ROI-VisionStone-AR-Render.jpg 1,920 × 772; 297 KB
 Destiny-Sahara-AR2-AutoRifle.jpg 480 × 160; 29 KB
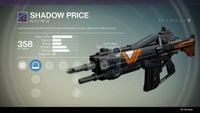 Destiny-ShadowPrice-AutoRifle.jpg 1,920 × 1,080; 213 KB
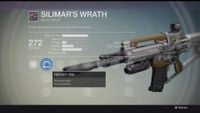 Destiny-SilimarsWrath-AutoRifle.jpg 1,920 × 1,080; 222 KB
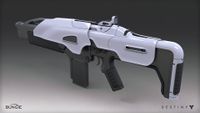 Destiny-SurosAutoRifle-Back.jpg 1,920 × 1,080; 686 KB
).jpg)
.jpg)

.jpg)


.jpg)


